Baby Quilt Out of Flannel Squares With Fringe
When Wyatt was born my MIL gave me a blanket and burp cloths that were similar to this. I loved them so much that I made a bunch more burp cloths the same way (I even found the exact same camo fabric that she had used!). Today I'm sharing a tutorial so you can make your own Rag Edge Baby Blanket too! They would be great for your own baby or for a gift. I often give one of these blankets paired with an item sewn from one of my favorite free baby patterns, and it's always a hit with the new or soon to be mom!
This tutorial will guide you through the steps to sew your own rag edge receiving blanket. It is a perfect beginner project, and I promise it will be the simplest receiving blanket you'll ever make! It can easily be done from start to finish in less than an hour. At 40″x40″ when finished, this blanket will be perfect for swaddling your baby as he or she grows and outgrows other smaller receiving blankets.
Rag Edge Baby Blanket Tutorial
Materials Needed:
1.25 yd flannel fabric
1.25 yd co-ordinating flannel fabric
matching thread
Directions:
1. Pre-wash your flannels. Cut each piece of flannel to a square 40″x40″. Make sure that the selvage edge is cut off, or that edge will not fray properly when the blanket is finished.

2. Fold each piece of flannel in half into a rectangle, and then in half again into a square. Stack the two pieces of flannel on top of each other, matching up the 8 free corners. Using a round bowl or lid as a guide, trace a curved line onto the top layer of the free corners. Cut along line, forming curved edges.


2. Open up both pieces of fabric and lay flannel squares on top of each other, wrong sides together. Match up the four sides, and pin in place. Using a ruler stick, trace a line from each corner to corner, forming an X in the middle of the blanket. Pin near the X lines to hold the two layers together. If you're too lazy to go find a ruler stick like I am, just fold the flannel in half into a triangle, and pin along the folded edge to mark your sewing line. Next fold the flannel into a triangle using the opposite corners, and again place pins along the folded edge to mark your sewing line.


3. Sew along either your marked lines or your line of pins from each corner to corner, forming an X in the middle of the blanket.

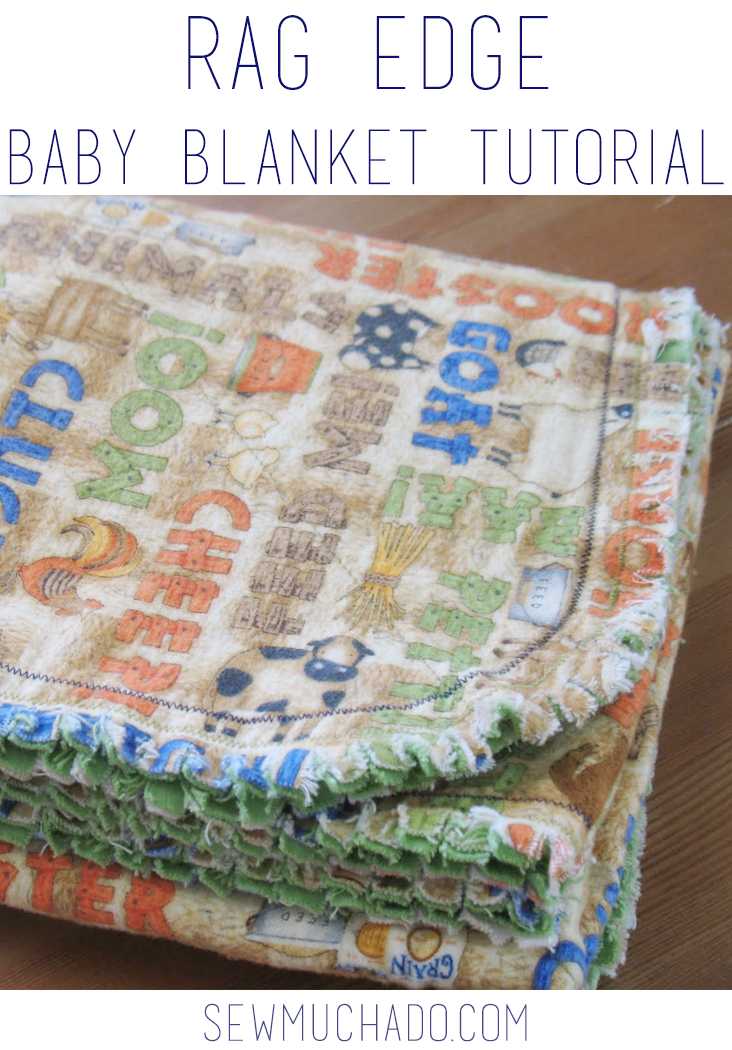
4. Using either a narrow zigzag stitch or a decorative stitch, sew around the entire blanket 0.5″ from the edge. If using a zigzag stitch as is pictured (for a farm themed blanket I thought it was more appropriate than a decorative stitch), adjust your stitch length to be short enough so that the stitches are fairly close together. On my sewing machine, I set it at a "1". Whichever stitch you choose, just be sure that it will be sturdy.
5. If desired, stitch again around the entire blanket using a co-ordinating thread, 0.25″ in from the first stitch line. Depending on which type of stitch you use, you might want to skip this second row of stitching. I thought it would be cute with this particular blanket, but use your own judgement.

6. Now for the fun part… Get out the ol' scissors and start hacking. Just kidding, that would be very counterproductive. Every 0.5″, make a small snip around the edge of the blanket perpendicular to your sewing line. Clip fairly close to your stitch line, but not through it.


7. Wash and dry the blanket 1 or 2 times to allow the clipped edges to fray. The best part about this blanket is that it gets better and better with each wash. Great work, you are done your Rag Edge Baby Blanket!

Baby Quilt Out of Flannel Squares With Fringe
Source: https://www.sewmuchado.com/rag-edge-receiving-blanket-tutorial/
Post a Comment for "Baby Quilt Out of Flannel Squares With Fringe"